
Introduction
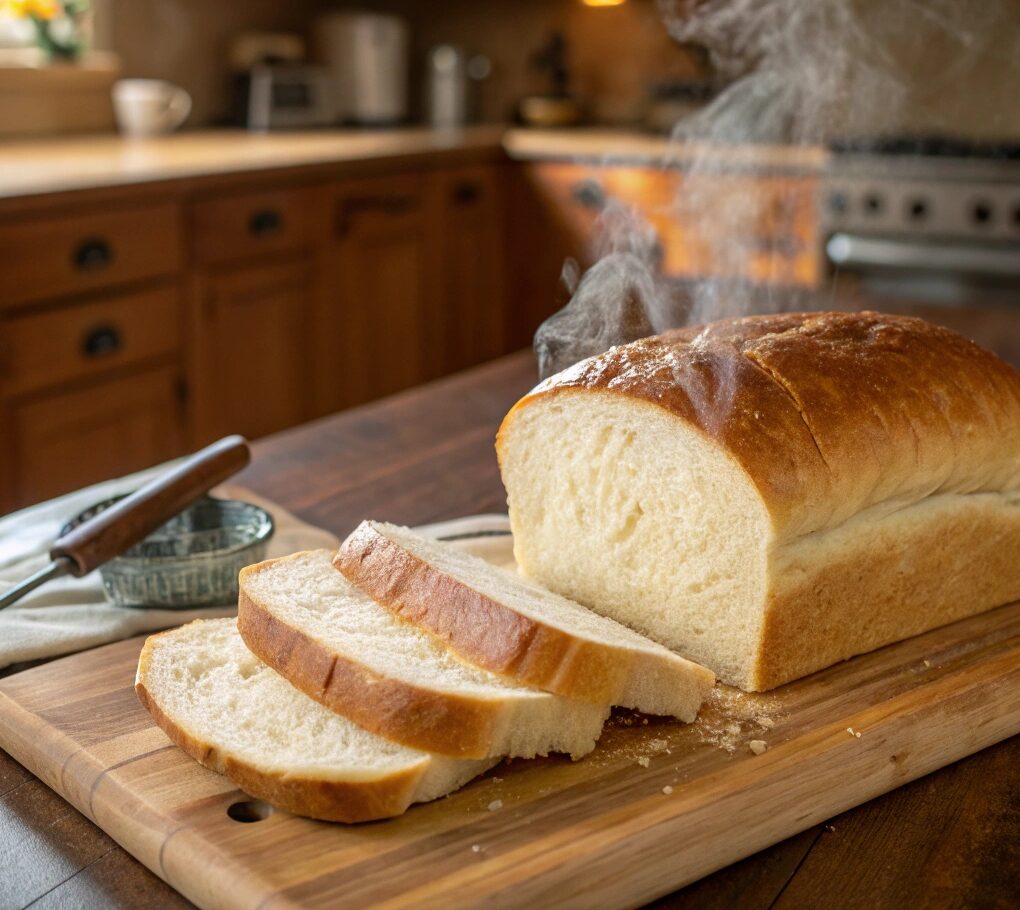
There’s nothing quite like the aroma of freshly baked bread filling your home. Amish white bread is a simple yet delicious classic that has been cherished for generations. Known for its soft, fluffy texture and slightly sweet flavor, this homemade bread is perfect for sandwiches, toast, or enjoying warm with butter and jam.
This recipe is easy to follow and uses basic pantry ingredients, making it an excellent choice for beginner and experienced bakers alike. The key to achieving the perfect softness lies in the right combination of ingredients, proper kneading, and allowing the dough to rise fully.
In this guide, we’ll walk you through the step-by-step process of making Amish white bread from scratch. You’ll also discover expert tips to ensure your bread turns out soft, airy, and irresistible every time. Plus, we’ll answer common questions about what makes bread fluffy and how to keep it fresh longer.
Part 1: Ingredients and Preparation
Essential Ingredients for Soft and Fluffy Amish White Bread
To achieve the perfect balance of softness, fluffiness, and a slightly sweet flavor, you’ll need the following simple pantry ingredients:
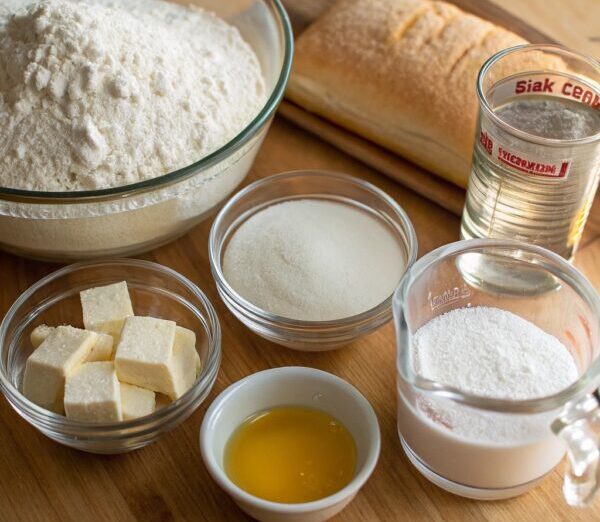
- 2 cups warm water (110°F/45°C) – Helps activate the yeast properly.
- 2/3 cup white sugar – Adds slight sweetness and enhances browning.
- 1 1/2 tablespoons active dry yeast – The key to making the bread rise and become fluffy.
- 1 1/2 teaspoons salt – Enhances flavor and regulates yeast activity.
- 1/4 cup vegetable oil – Helps create a soft and tender crumb.
- 5 1/2 to 6 cups all-purpose flour – The base of the bread; bread flour can also be used for extra chewiness.
Step 1: Activating the Yeast
Properly activating the yeast is crucial for getting a good rise in the bread. Follow these steps:
- In a large mixing bowl, dissolve the sugar in warm water (110°F). Make sure the water is warm but not too hot, as high temperatures can kill the yeast.
- Sprinkle the active dry yeast over the water and let it sit for about 5–10 minutes. The yeast will start to foam, indicating it’s alive and ready to work. If no bubbles or foam appear, the yeast may be expired or the water temperature was incorrect.
Step 2: Mixing the Dough
- Add salt and vegetable oil to the yeast mixture, stirring well to combine.
- Gradually add flour, one cup at a time, mixing well after each addition. A wooden spoon or stand mixer with a dough hook works best.
- Continue mixing until the dough starts to pull away from the sides of the bowl. It should be slightly sticky but manageable.
Step 3: Kneading for the Perfect Texture
Kneading is a crucial step in creating a fluffy and airy loaf. It helps develop gluten, which gives the bread its structure.
- Lightly flour a clean surface and transfer the dough onto it.
- Knead the dough for 8–10 minutes, stretching and folding it repeatedly.
- The dough is ready when it becomes smooth, elastic, and slightly tacky but does not stick to your hands.
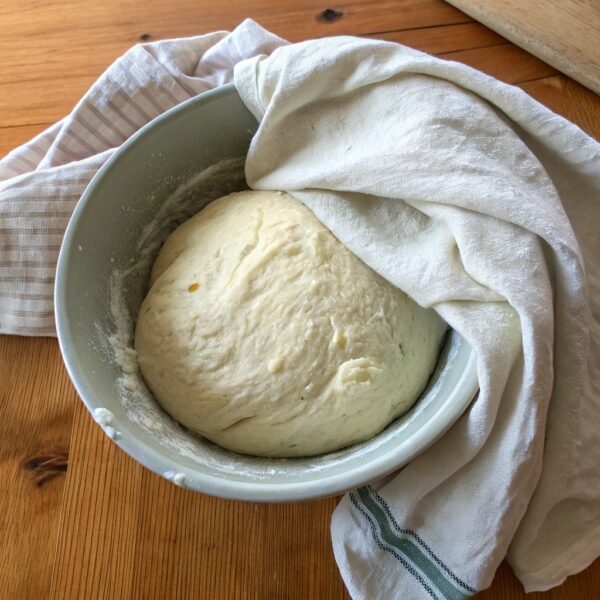
Step 4: First Rise – Let the Dough Double in Size
- Place the kneaded dough in a greased bowl, turning it to coat all sides with oil. This prevents drying out.
- Cover the bowl with a damp cloth or plastic wrap and let it rise in a warm place for about 1 hour, or until it doubles in size.
Part 2: Shaping, Second Rise, and Baking
Now that the dough has doubled in size, it’s time to shape the loaves, allow a second rise, and bake them to perfection.
Step 5: Shaping the Loaves
- Lightly flour your work surface and gently punch down the risen dough to release excess air.
- Divide the dough into two equal portions.
- Flatten each portion into a rectangle, about 9 inches wide (the width of your loaf pan).
- Roll the dough tightly from one short end to the other, pinching the seam to seal.
- Place each rolled dough into a greased 9×5-inch loaf pan, seam-side down.
Step 6: Second Rise
- Cover the loaf pans with a light kitchen towel or plastic wrap.
- Let the dough rise again for 30–40 minutes, or until it has risen about 1 inch above the edge of the pan.
- While the dough is rising, preheat your oven to 350°F (175°C).
7: Baking the Bread
- Once the dough has risen, place the loaf pans on the center rack of the oven.
- Bake for 25–30 minutes, or until the tops are golden brown.
- To check for doneness, gently tap the top of a loaf—a hollow sound indicates it’s fully baked.
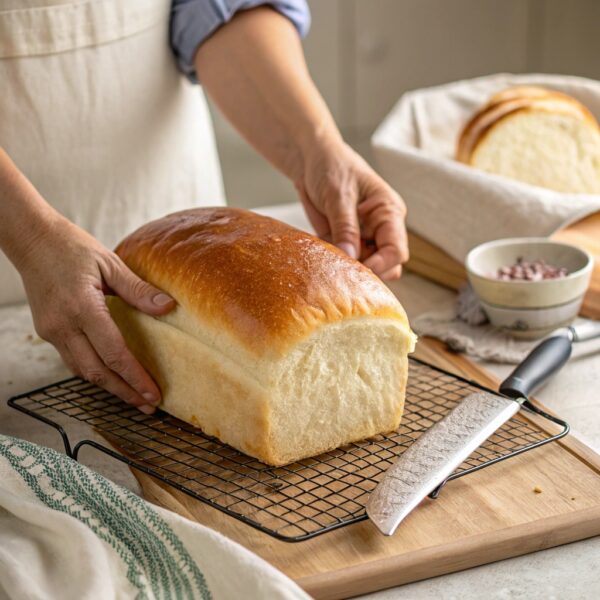
- Remove the bread from the oven and allow it to cool in the pans for 5 minutes.
- Transfer the loaves to a wire rack to cool completely before slicing.
Part 3: Tips for a Softer and Fluffier Bread
Making homemade Amish white bread soft and fluffy requires a few key techniques. Here are expert tips to ensure your bread turns out perfectly every time.
1. Use the Right Type of Flour
- All-purpose flour works well for this recipe, but for an even softer and airier texture, try bread flour.
- Bread flour has a higher protein content, which helps develop more gluten, giving the bread better structure and a fluffy texture.
2. Don’t Rush the Kneading Process
- Kneading the dough develops gluten, which is essential for a light and airy bread.
- Knead for at least 8–10 minutes, or until the dough becomes smooth and elastic.
3. Allow the Dough to Rise Fully
- The first rise should allow the dough to double in size, which usually takes about 1 hour.
- The second rise should bring the dough about 1 inch above the loaf pan.
- Tip: If your kitchen is cool, place the dough in a slightly warm oven (turned off) to help it rise faster.
4. Keep the Dough Hydrated
- A slightly sticky dough creates a softer bread, so avoid adding too much flour.
- If the dough feels too dry, add 1 tablespoon of water at a time until it reaches the right consistency.
5. Add a Fat Source for Extra Softness
- Vegetable oil, butter, or even milk can enhance the bread’s tenderness.
- Fats coat the gluten strands, keeping them from becoming too tough.
6. Bake at the Right Temperature
- Baking at 350°F (175°C) ensures an even, golden crust while keeping the inside soft.
- Baking at too high a temperature can cause the crust to harden too quickly, preventing a proper rise.
7. Let the Bread Cool Properly
- After baking, let the bread rest on a wire rack to cool completely before slicing.
- Cutting into hot bread releases moisture, making it dry out faster.
Part 4: How to Keep Bread Soft and Fresh for Longer
Freshly baked Amish white bread is best enjoyed soft and fluffy, but without proper storage, it can dry out quickly. Here are some tried-and-true methods to keep your bread fresh and soft for days.
1. Store Bread in an Airtight Container
- Exposure to air causes bread to dry out, so store it in an airtight plastic bag or a sealed bread box.
- If using a plastic bag, press out excess air before sealing to maintain moisture.
2. Keep Bread at Room Temperature
- Store homemade bread at room temperature rather than in the refrigerator.
- Refrigeration can actually make bread go stale faster due to moisture loss.
3. Use a Cloth or Paper Towel Inside the Bag
- Placing a paper towel or clean cloth inside the storage bag helps absorb excess moisture, preventing sogginess.
- This also reduces the risk of mold growth.
4. Slice Only When Ready to Eat
- Slicing bread exposes more surface area to air, which can dry it out.
- To keep it fresher longer, slice only the amount you need at a time.
5. Freeze for Long-Term Storage
- If you don’t plan to eat the bread within 3–4 days, freezing is the best option.
- How to freeze bread properly:
- Wrap the loaf tightly in plastic wrap or aluminum foil.
- Place it in a freezer-safe bag, removing as much air as possible.
- Store in the freezer for up to 3 months.
- To thaw, leave it at room temperature for a few hours or warm it in the oven at 300°F (150°C) for 10 minutes.
6. Revive Stale Bread
- If the bread starts to feel dry, wrap it in a damp towel and heat it in the oven at 325°F (160°C) for 5–10 minutes.
- You can also microwave a slice with a small cup of water for 10 seconds to restore moisture.
Part 5: What Makes Bread Soft and Fluffy?
The secret to soft and fluffy bread lies in a combination of ingredients, techniques, and fermentation. Let’s break down the key factors that create light, airy bread with the perfect texture.
1. Proper Yeast Activation
- Yeast is responsible for producing carbon dioxide gas, which creates air pockets in the dough, making the bread rise.
- Always proof yeast in warm water (110°F/45°C) with sugar to ensure it’s active. If the yeast doesn’t foam after 5–10 minutes, it may be expired or inactive.
2. The Right Balance of Ingredients
- Flour: Using bread flour instead of all-purpose flour increases gluten development, resulting in a chewier and fluffier texture.
- Sugar: Helps feed the yeast and enhances browning for a golden crust.
- Fat (Oil or Butter): Softens the gluten strands, keeping the bread tender.
- Salt: Regulates yeast growth and enhances flavor.
3. Kneading and Gluten Development
- Kneading strengthens the gluten network, which traps gas and gives the bread structure.
- If under-kneaded, the dough won’t hold enough air, resulting in dense bread.
- Properly kneaded dough should be smooth, elastic, and slightly tacky but not sticky.
4. First and Second Rise (Fermentation)
- The first rise allows yeast to develop and create gas bubbles, making the bread airy.
- The second rise helps improve the final texture and prevents the bread from becoming too dense.
- Dough should double in size before shaping and rise 1 inch above the loaf pan before baking.
5. Baking at the Right Temperature
- Baking at 350°F (175°C) ensures even cooking and a soft interior.
- Overbaking can dry out the bread, so check for doneness by tapping the loaf—a hollow sound means it’s fully baked.
6. Cooling and Storage
- Let the bread cool completely before slicing to keep the crumb soft and moist.
- Store in an airtight container or bread bag to maintain freshness.
Part 6: How to Make Bread Even Fluffier?
If you love soft and fluffy bread but want an even lighter, airier texture, try these techniques to improve the fluffiness of your Amish white bread.
1. Use Bread Flour Instead of All-Purpose Flour
- Bread flour has a higher protein content, which creates more gluten.
- More gluten means a better structure that traps air, resulting in an extra fluffy texture.
2. Increase Hydration (Add More Liquid)
- A higher moisture content makes the dough softer and helps create larger air pockets.
- If your dough feels too dry, add 1–2 tablespoons of extra water or milk.
- The dough should be slightly sticky but still manageable.
3. Add a Tangzhong or Roux Method
- This technique involves cooking a small portion of flour and water (or milk) into a paste before adding it to the dough.
- It helps the bread retain more moisture, making it softer and fluffier.
4. Add Dairy for Extra Softness
- Milk, buttermilk, or powdered milk can replace some of the water to enhance softness.
- Dairy adds fat and protein, which improves texture and flavor.
5. Let the Dough Rise Slowly (Cold Fermentation)
- A slow rise in the refrigerator overnight allows the yeast to develop more air pockets.
- This method creates a better flavor and fluffier structure.
6. Add an Egg for Extra Lift
- Eggs act as a natural leavening agent, helping the dough rise higher.
- They also add moisture, improving softness.
7. Use a Dough Enhancer (Optional)
- Dough enhancers like vital wheat gluten or ascorbic acid (vitamin C powder) strengthen gluten formation and increase fluffiness.
- Adding 1 teaspoon of vinegar or lemon juice can also help improve the rise.
8. Avoid Over-Kneading or Over-Baking
- Over-kneading can make the bread too dense, so stop when the dough is smooth and elastic.
- Over-baking can dry out the bread, so check for doneness early by tapping the crust—if it sounds hollow, it’s ready.
Part 7: Common Mistakes to Avoid When Making Bread
Even experienced bakers can make mistakes that affect the texture and flavor of homemade bread. Here are some of the most common pitfalls and how to avoid them to ensure your Amish white bread turns out soft and fluffy every time.
1. Using Water That’s Too Hot or Too Cold
- Mistake: If the water is too hot (above 120°F/49°C), it can kill the yeast, preventing the bread from rising. If it’s too cold, the yeast won’t activate properly.
- Solution: Use warm water (110°F/45°C) to activate the yeast for the best results.
2. Not Proofing the Yeast
- Mistake: Skipping the yeast activation step can result in a failed rise, especially if the yeast is old or expired.
- Solution: Always dissolve yeast in warm water with sugar and let it foam for 5–10 minutes before adding other ingredients. If it doesn’t foam, discard and start with fresh yeast.
3. Adding Too Much or Too Little Flour
- Mistake: Adding too much flour makes the dough dense, while too little can make it too sticky to handle.
- Solution: Add flour gradually, one cup at a time, until the dough is soft and slightly sticky but manageable. Adjust based on humidity and flour type.
4. Not Kneading Enough or Over-Kneading
- Mistake: Under-kneaded dough won’t develop enough gluten, resulting in dense bread. Over-kneading can make the bread tough.
- Solution: Knead the dough for 8–10 minutes, until it’s smooth and elastic. If using a stand mixer, knead for about 5–7 minutes on low speed.
5. Not Letting the Dough Rise Fully
- Mistake: Cutting the rise time short leads to dense, heavy bread. Over-proofing can make the dough collapse.
- Solution: Let the dough double in size during the first rise (about 1 hour). For the second rise, the dough should rise about 1 inch above the loaf pan before baking.
6. Baking at the Wrong Temperature
- Mistake: Baking at a temperature that’s too low results in pale, undercooked bread. Too high, and the crust will harden before the inside bakes fully.
- Solution: Always bake at 350°F (175°C) for the perfect balance of a golden crust and soft interior.
7. Cutting the Bread Too Soon
- Mistake: Slicing hot bread releases steam, making it dry out faster.
- Solution: Let the bread cool for at least 30 minutes on a wire rack before cutting.
8. Storing Bread Improperly
- Mistake: Leaving bread uncovered causes it to dry out quickly. Storing in the fridge makes it go stale faster.
- Solution: Keep the bread in an airtight container at room temperature for up to 4 days. For longer storage, freeze it.
Part 8: Frequently Asked Questions About Soft and Fluffy Bread
1. What is the secret to a soft and fluffy bread?
The key to soft and fluffy bread is a combination of proper yeast activation, gluten development, and moisture retention. Using ingredients like bread flour, milk, butter, or oil helps keep the bread tender. Allowing the dough to rise fully and kneading it correctly also plays a big role in creating a light texture.
2. How do you increase the fluffiness of bread?
To make your bread even fluffier, try these tips:
- Use bread flour instead of all-purpose flour for better gluten development.
- Let the dough rise slowly for better fermentation.
- Add a small amount of milk, egg, or potato flakes for extra softness.
- Knead the dough properly to create a strong gluten structure.
3. What gives bread its fluffy texture?
Bread gets its fluffy texture from the carbon dioxide gas produced by yeast during fermentation. This gas gets trapped in the gluten structure, causing the dough to expand. Kneading and proper hydration help create an elastic dough that holds the gas and results in an airy loaf.
4. How do you keep bread soft and fluffy?
To maintain softness, follow these storage tips:
- Keep bread in an airtight plastic bag or a sealed bread box.
- Store at room temperature rather than in the refrigerator, which can dry it out.
- Slice only when ready to eat, as cutting exposes more surface area to air.
- If the bread starts to dry out, warm it in the oven at 300°F (150°C) for 10 minutes with a damp towel wrapped around it.
Part 9: Conclusion and Final Thoughts
Homemade Amish white bread is a simple yet incredibly satisfying recipe that delivers soft, fluffy, and slightly sweet loaves perfect for any occasion. With just a few basic ingredients and the right techniques, you can create bakery-quality bread right in your own kitchen.
By following this step-by-step guide, you’ve learned:
How to properly activate yeast for the best rise.
The importance of kneading and gluten development for a light, airy texture.
How to shape, proof, and bake your bread for the perfect golden crust.
Pro tips to keep your bread soft and fresh for longer.
Common mistakes to avoid to ensure a fluffy and tender loaf every time.
Whether you enjoy it fresh out of the oven with butter, toasted for breakfast, or as the base for a delicious sandwich, this Amish white bread recipe is sure to become a household favorite.
Ready to Start Baking?
Now that you have all the knowledge and tips, it’s time to get baking! Follow this recipe, experiment with variations, and enjoy the simple pleasure of homemade bread.
Happy baking!