
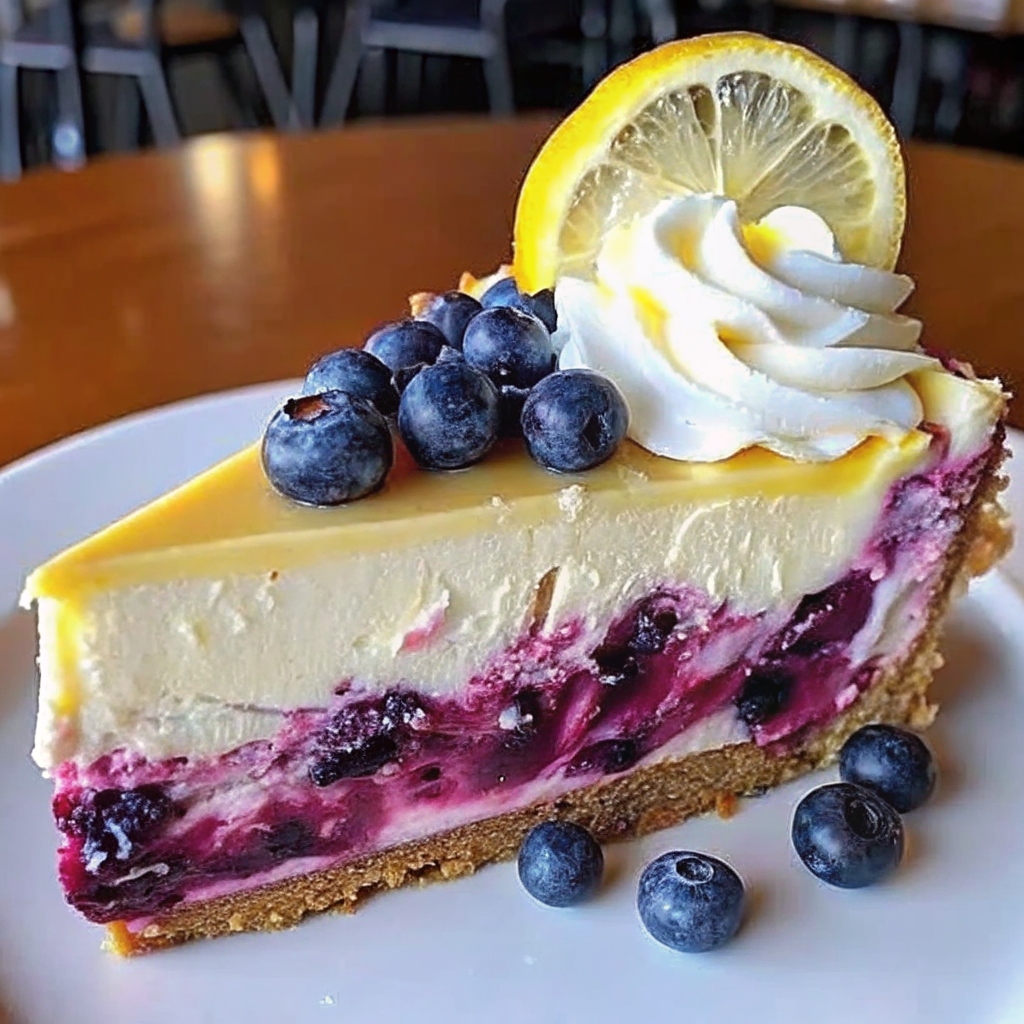
Let’s talk cheesecake. There’s no dessert that combines rich, creamy goodness with a perfect crunch quite like it. Now, take that classic recipe, add a bright pop of lemon, and swirl in juicy blueberries. What do you get? A lemon blueberry cheesecake that’s equal parts stunning and delicious. Trust me, once you make this, you’ll wonder how you ever lived without it.
In this post, I’m walking you through every single detail to create the ultimate lemon blueberry cheesecake. From making the buttery crust to nailing the creamy filling (no cracks here!), and even creating that picture-perfect blueberry swirl—it’s all laid out for you. Let’s roll up our sleeves and dive in.
Why Lemon Blueberry Cheesecake is Everyone’s Favorite
Lemon and blueberry are like that couple who just fit. Lemon brings the tangy zing, while blueberries add natural sweetness. Together, they make magic happen. This combo is especially great for cheesecake because it cuts through the richness without overpowering it.
Also, let’s not ignore the visual appeal. When you slice into a lemon blueberry cheeseCAKE, those swirls of yellow and purple almost make you hesitate to eat it. (Almost. Because, let’s face it, cheesecake always wins.)
The Ingredients List: Everything You’ll Need
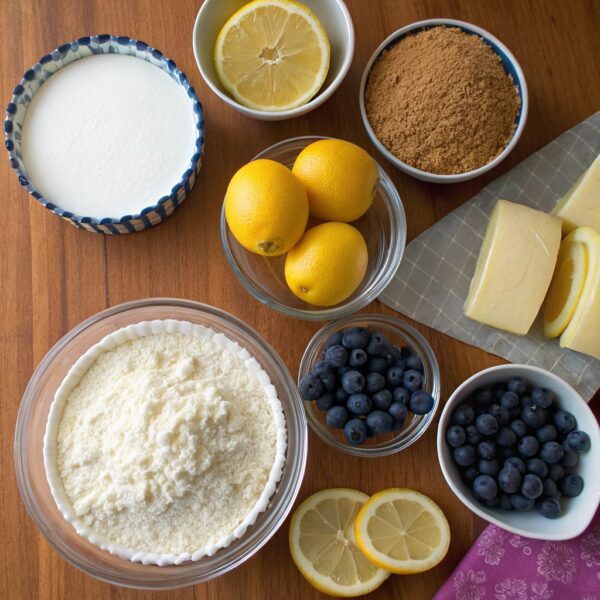
Gathering your ingredients is step one. For this recipe, you’ll need a mix of staples and fresh goodies. Here’s the full rundown:
For the Crust:
- 2 cups graham cracker crumbs (about 14 full sheets)
- 1/3 cup granulated sugar
- 1/2 cup unsalted butter, melted
For the Filling:
- 3 (8 oz) packages of cream cheese, softened
- 1 cup granulated sugar
- 3 large eggs
- 1/4 cup sour cream
- 1/4 cup heavy cream
- 1 tablespoon vanilla extract
- Zest of 2 LEMONS
- Juice of 1 lemon
the Blueberry Swirl:
- 1 cup fresh or frozen blueberries
- 2 tablespoons granulated sugar
- 1 teaspoon cornstarch
- 1 tablespoon water
Optional: Whipped cream, lemon zest, and fresh blueberries for garnish.
Step-by-Step Instructions for Lemon Blueberry Cheesecake
Step 1: Make the Crust
The crust is the base of your cheesecake, so getting it right is key. You want a buttery, crisp texture that holds its own against the filling.
- Crush the graham crackers. If you have a food processor, use it to grind the crackers into fine crumbs. No food processor? Put the crackers in a zip-top bag and crush them with a rolling pin. (It’s oddly satisfying.)
- Mix the ingredients. In a bowl, stir together the crumbs, sugar, and melted butter. You’re looking for a texture that feels like damp sand.
- Press it in. Transfer the mixture to a 9-inch springform pan and press it evenly across the bottom. Use the back of a measuring cup to pack it down firmly.
- Bake it. Preheat your oven to 325°F and bake the crust for 10 minutes. Let it cool while you move on to the filling.
Step 2: Make the Blueberry Swirl
This step gives your cheesecake its wow factor. The swirl isn’t just pretty—it also ensures that every bite has a burst of blueberry flavor.
- Cook the blueberries. Combine the blueberries, sugar, cornstarch, and water in a small saucepan. Heat over medium heat, stirring until the mixture thickens. It should resemble a jam-like consistency.
- Cool it down. Set the mixture aside to cool completely. You’ll swirl this into the cheesecake filling later.
Step 3: Prepare the Cheesecake Filling
Now for the heart of the cheesecake: that rich, creamy filling. It’s easier than you think to get it right, as long as you follow these tips.
- Soften the cream cheese. Make sure your cream cheese is at room temperature before starting. Cold cream cheese = lumps. Nobody wants lumps.
- Beat it smooth. Use an electric mixer to beat the cream cheese until it’s velvety and lump-free.
- Add the sugar. Slowly mix in the granulated sugar, scraping down the sides of the bowl as you go.
- Incorporate the eggs. Add the eggs one at a time, mixing just until combined. Overmixing at this stage can lead to cracks.
- Finish it off. Stir in the sour cream, heavy cream, vanilla, lemon zest, and lemon juice. The batter should be smooth, creamy, and slightly tangy.
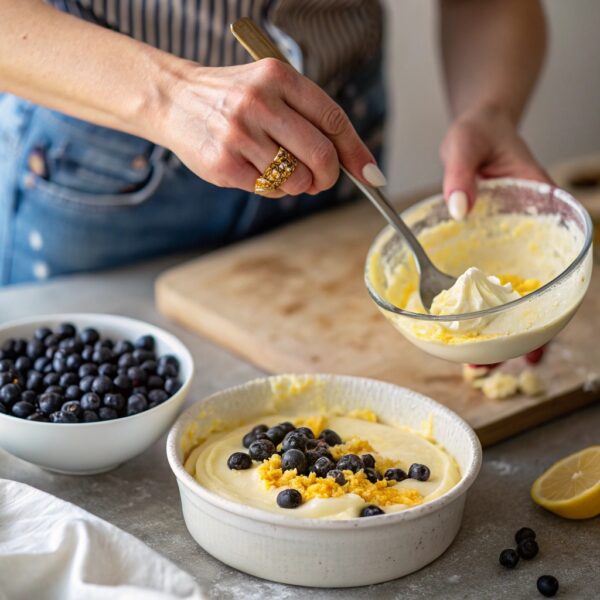
Step 4: Assemble the Cheesecake
This is where things get exciting. You’re layering flavors and creating those gorgeous swirls.
- Pour the filling. Pour the lemon cheesecake filling over the cooled crust.
- Add the blueberry swirl. Drop small spoonfuls of the cooled blueberry sauce onto the filling. Use a toothpick or knife to gently swirl the sauce into the batter. Don’t overdo it—swirls are meant to be subtle!
- Water bath time. Wrap the bottom of your springform pan with aluminum foil and place it in a larger roasting pan. Fill the roasting pan with about an inch of hot water. This step keeps the cheesecake moist and prevents cracking.
Step 5: Bake and Chill
Patience is the name of the game here, but the payoff is worth it.
- Bake it. Bake the cheesecake at 325°F for about 60–70 minutes. The edges should be set, but the center will still have a slight jiggle. (It’ll firm up as it cools.)
- Cool gradually. Turn off the oven and crack the door open slightly. Let the cheesecake cool in the oven for an hour before removing it. This gradual cooling process helps prevent cracks.
- Chill overnight. Once the cheesecake is at room temperature, transfer it to the fridge. Let it chill for at least 6 hours, but overnight is even better.
Serving Tips: Making It Picture-Perfect
When you’re ready to serve, run a knife around the edges of the pan before releasing the springform. For clean slices, use a sharp knife dipped in hot water and wipe it clean between cuts.
Add a dollop of whipped cream on each slice, sprinkle a little extra lemon zest on top, and toss on a few fresh blueberries for good measure. It’s almost too pretty to eat. (Keyword: almost.)
Tips for Cheesecake Success
- Room temperature ingredients. Cold ingredients don’t mix well, so plan ahead and let everything sit out for a bit before you start.
- Avoid overmixing. Too much air in the batter can cause the cheesecake to puff up in the oven and crack as it cools.
- Don’t skip the water bath. Yes, it’s an extra step, but it makes a big difference in texture and appearance.
- Test for doneness. The center should still wobble slightly when you give the pan a gentle shake. If it’s completely firm, you’ve overbaked it.
Storage and Leftovers
Cheesecake stores beautifully, which makes it a great make-ahead dessert. Here’s how to keep it fresh:
- Fridge: Wrap the cheesecake tightly in plastic wrap and store it in the refrigerator for up to 5 days.
- Freezer: For longer storage, freeze individual slices. Wrap each slice in plastic wrap and place them in a freezer-safe bag. They’ll keep for up to 3 months.
To serve frozen cheesecake, let it thaw in the fridge for a few hours before digging in.
Quick Hacks for Busy Bakers
If you’re short on time (or just feeling a little lazy), here are a few shortcuts:
- Pre-made crust: Save time by using a store-bought graham cracker crust.
- Frozen blueberries: No need to hunt for fresh berries if they’re out of season. Frozen works just as well.
- Skip the swirl: Mix the blueberries directly into the filling instead of creating a separate swirl.
Why This Recipe is Worth the Effort
Yes, making cheesecake from scratch takes a bit of time, but the results are 100% worth it. Every creamy, tangy bite is packed with flavor, and the blueberry swirl adds a pop of sweetness that’ll have everyone going back for seconds.
Plus, this cheesecake is versatile. It’s the kind of dessert that works for everything from fancy dinner parties to low-key family nights. (And let’s be honest, it’s just as good for breakfast. No judgment here!)
FAQs About Lemon Blueberry Cheesecake
Do lemon and blueberry taste good together?
Absolutely! Lemon and blueberry are a perfect flavor match. The tanginess of lemon balances beautifully with the natural sweetness of blueberries, creating a bright and refreshing combination. Whether in cakes, muffins, or cheesecakes, these two flavors complement each other so well that they’re often considered a classic pairing.
What is the best flavor of cheesecake?
this really depends on personal preference! Classic plain cheesecake is timeless, but popular favorites include chocolate, strawberry, and caramel. That said, lemon blueberry cheesecake is often a top choice because it offers a delightful mix of creamy richness, fruity sweetness, and citrusy zing. It’s the kind of flavor that stands out without being overwhelming.
What are the two main differences between a traditional cheesecake and a New York cheesecake?
The two main differences are in texture and ingredients:
- Texture: New York cheesecake is denser and richer due to its higher cream cheese and egg content, while traditional cheesecake is often lighter and softer.
- Ingredients: New York cheesecake typically includes heavy cream or sour cream, which adds to its creamy consistency. Traditional cheesecakes may use more basic ingredients, resulting in a simpler flavor and texture.
Can you freeze cheesecake squares?
Yes, they freeze beautifully! Cheesecake squares are ideal for freezing because their small size makes them easy to store and thaw. To prepare them for the freezer, wrap each square tightly in plastic wrap, then place them in a freezer-safe container or bag. When you’re ready to serve, just transfer them to the fridge for a few hours to thaw.
Why is cheesecake not suitable for freezing?
Cheesecake itself is actually very freezer-friendly! However, some toppings or garnishes, like fresh fruit or whipped cream, don’t freeze well. They can lose their texture or become watery when thawed. If you plan to freeze a cheesecake, it’s best to add toppings just before serving.
Can I make a cheesecake ahead of time and freeze it?
Yes, you can! Cheesecake is one of the best make-ahead desserts. Bake the cheesecake as directed, allow it to cool completely, and then wrap it tightly in plastic wrap and aluminum foil to prevent freezer burn. Freeze it for up to 2–3 months. When you’re ready to serve, thaw it in the refrigerator overnight, and it’ll taste just as fresh as the day you made it.
Final Thoughts

There you have it: a lemon blueberry cheesecake that’s sure to steal the show. Whether you’re a seasoned baker or trying cheesecake for the first time, this recipe is foolproof. Follow the steps, take your time, and prepare to impress everyone—including yourself.